- Install & open Gimp
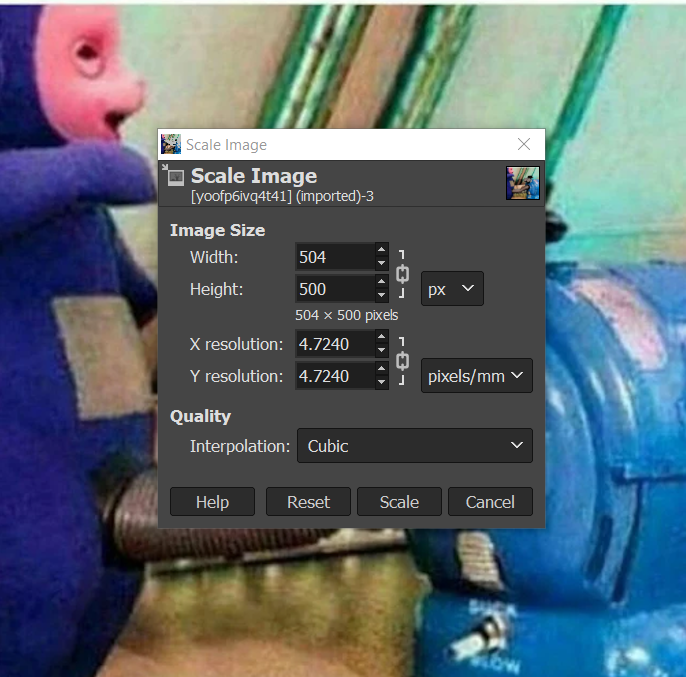
- Open Image->Hover over Image tab->Click Scale Image
- Choose the measurement for your Image->Click Scale once done
Computer graphics is sub-divided into two categories:
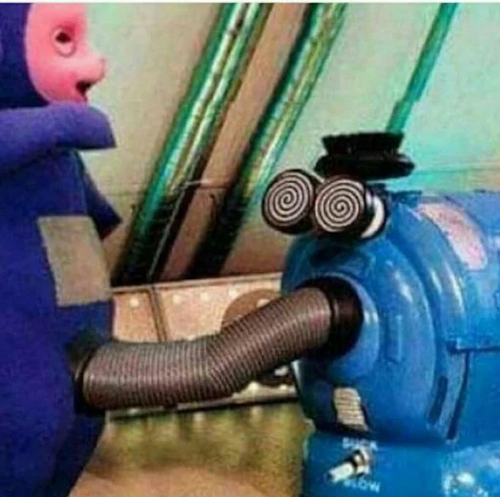
>Raster images deal with pixels on the screen. It is used mainly for rendering images (e.g. Photographs).
>Images are represented by “dots” or “pixels” in a
set resolution (number of dots/pixels per inch).
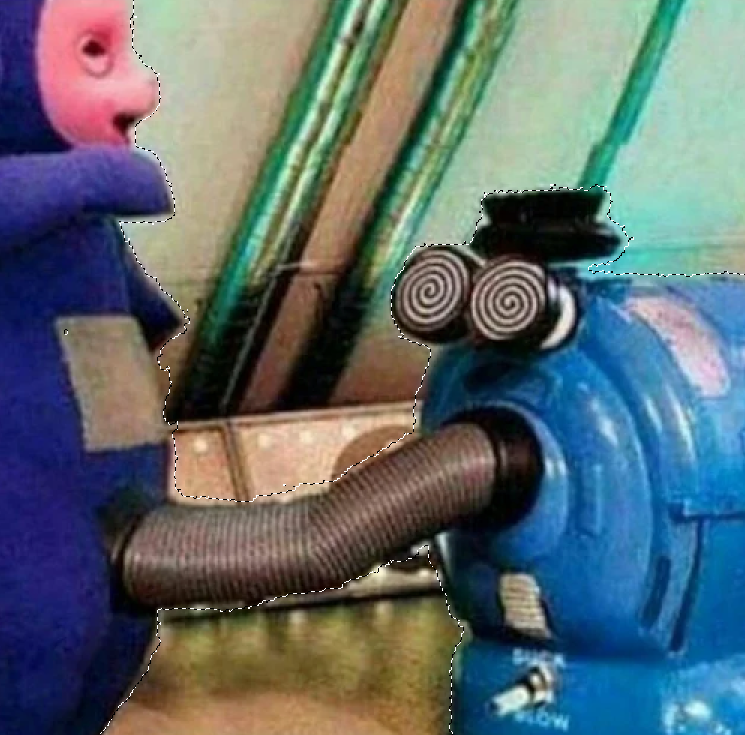
>Raster images are characterised by becoming fuzzy as you zoom/enlarge the image.
As the image is represented by dots, as you enlarge the image the dots become bigger.
>Raster images are mainly used for photographs and image representation.
>Important resoultions (measured as dpi (dots per inch)),
the higher the amount of memory required to stor the image.
-72 dpi Applie/Mac screen resolution
-96 dpi Windows screen resolution
-300 dpi min Printer resolution
>Software
-GIMP
-Adobe Photoshop
-MS Paint
>Common raster file formats
-jpg, jpeg Joint Photographic Experts Group
-png Portable Network Grphics
>Vector images use mathematical functions or algorithms to display images on the screen.
e.g. a line is represented by two points and an equation to draw the line between points.
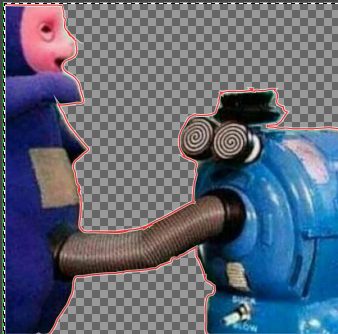
>Vector images are characterised by clean lines/edges and the ability to zoom in/out as much as
you want without distortion, as each image is “drawn” using an algorithm.
>Vector images are great for logos, signs, fancy text and design files.
>As such, you require specific software to handle each image type,
and some are proprietary, though some standards exist.
>Software
-Inkscape
-Adobe Illustrator
>Common vector file formats
-dxf AutoCAD Drawing Exchange Format
-svg Scalable Vector Graphics
-STEP STEP. ISO 10303 for 3D Objects
|
|
|

|