1. A frame (Laser cut)
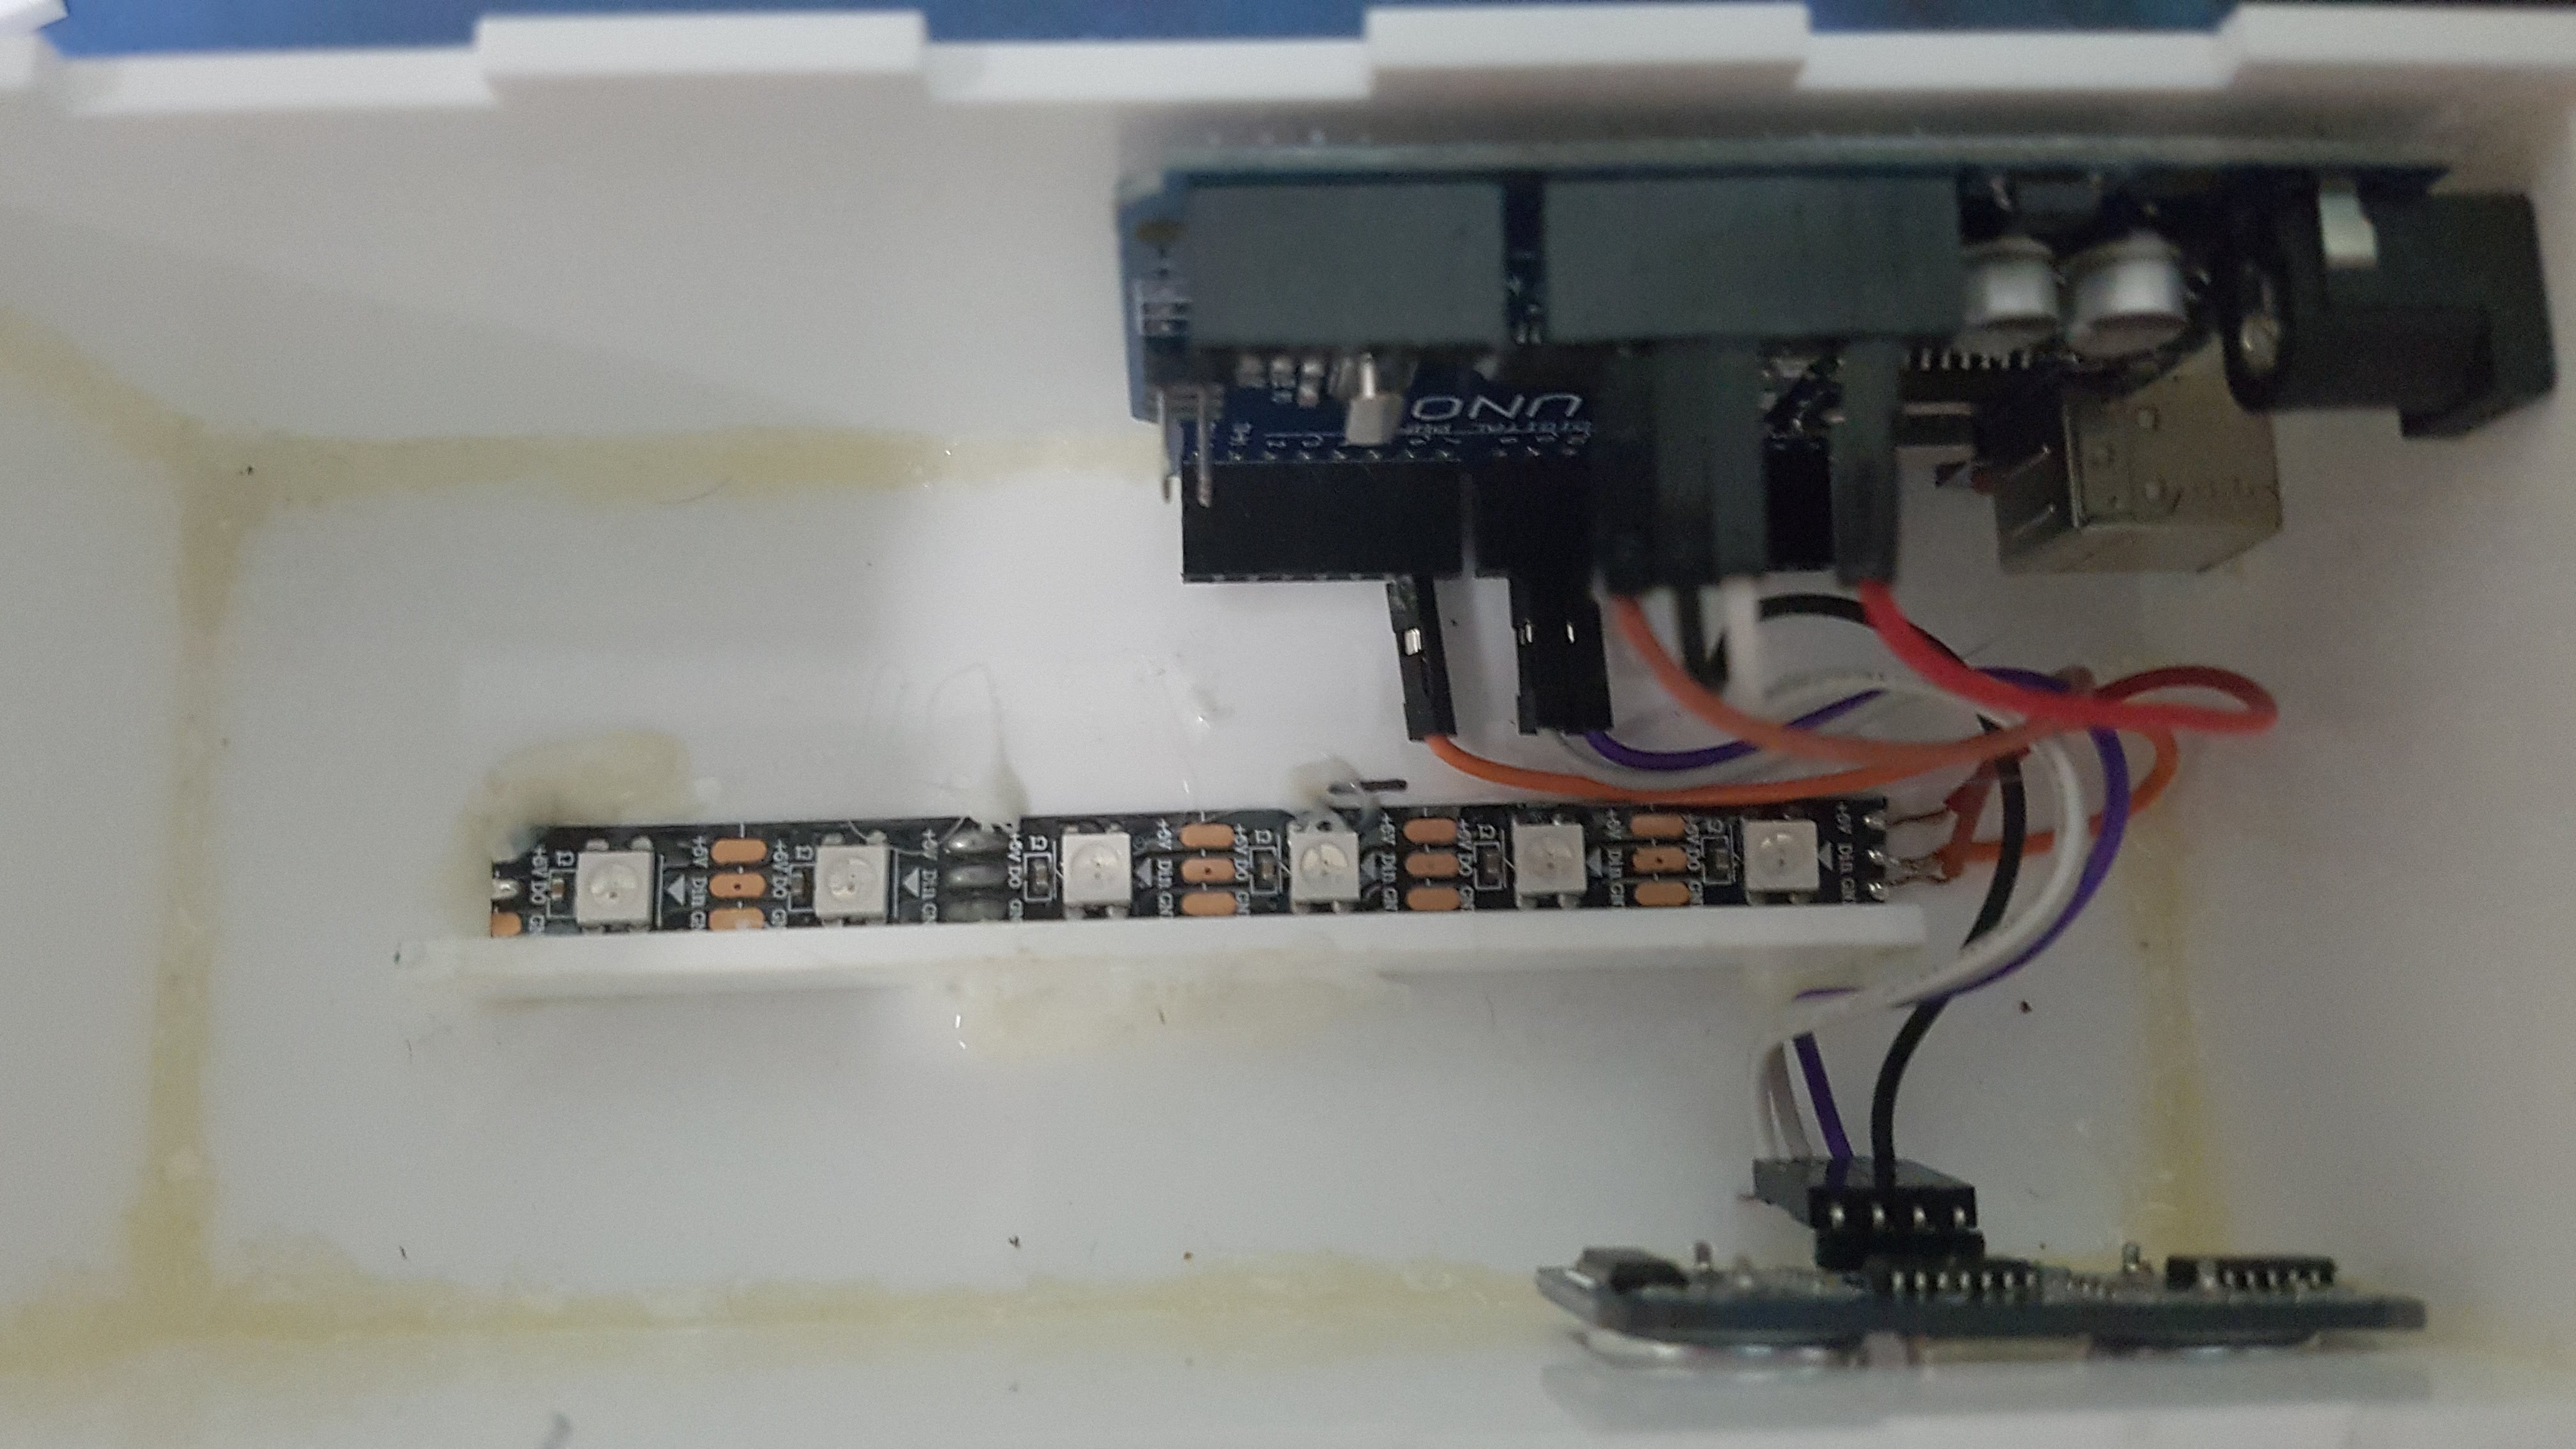
2. 5v LED neopixel Strip
3. Arduino
4. Wires
5. Wire connectors
6. LED Support(3D Print)
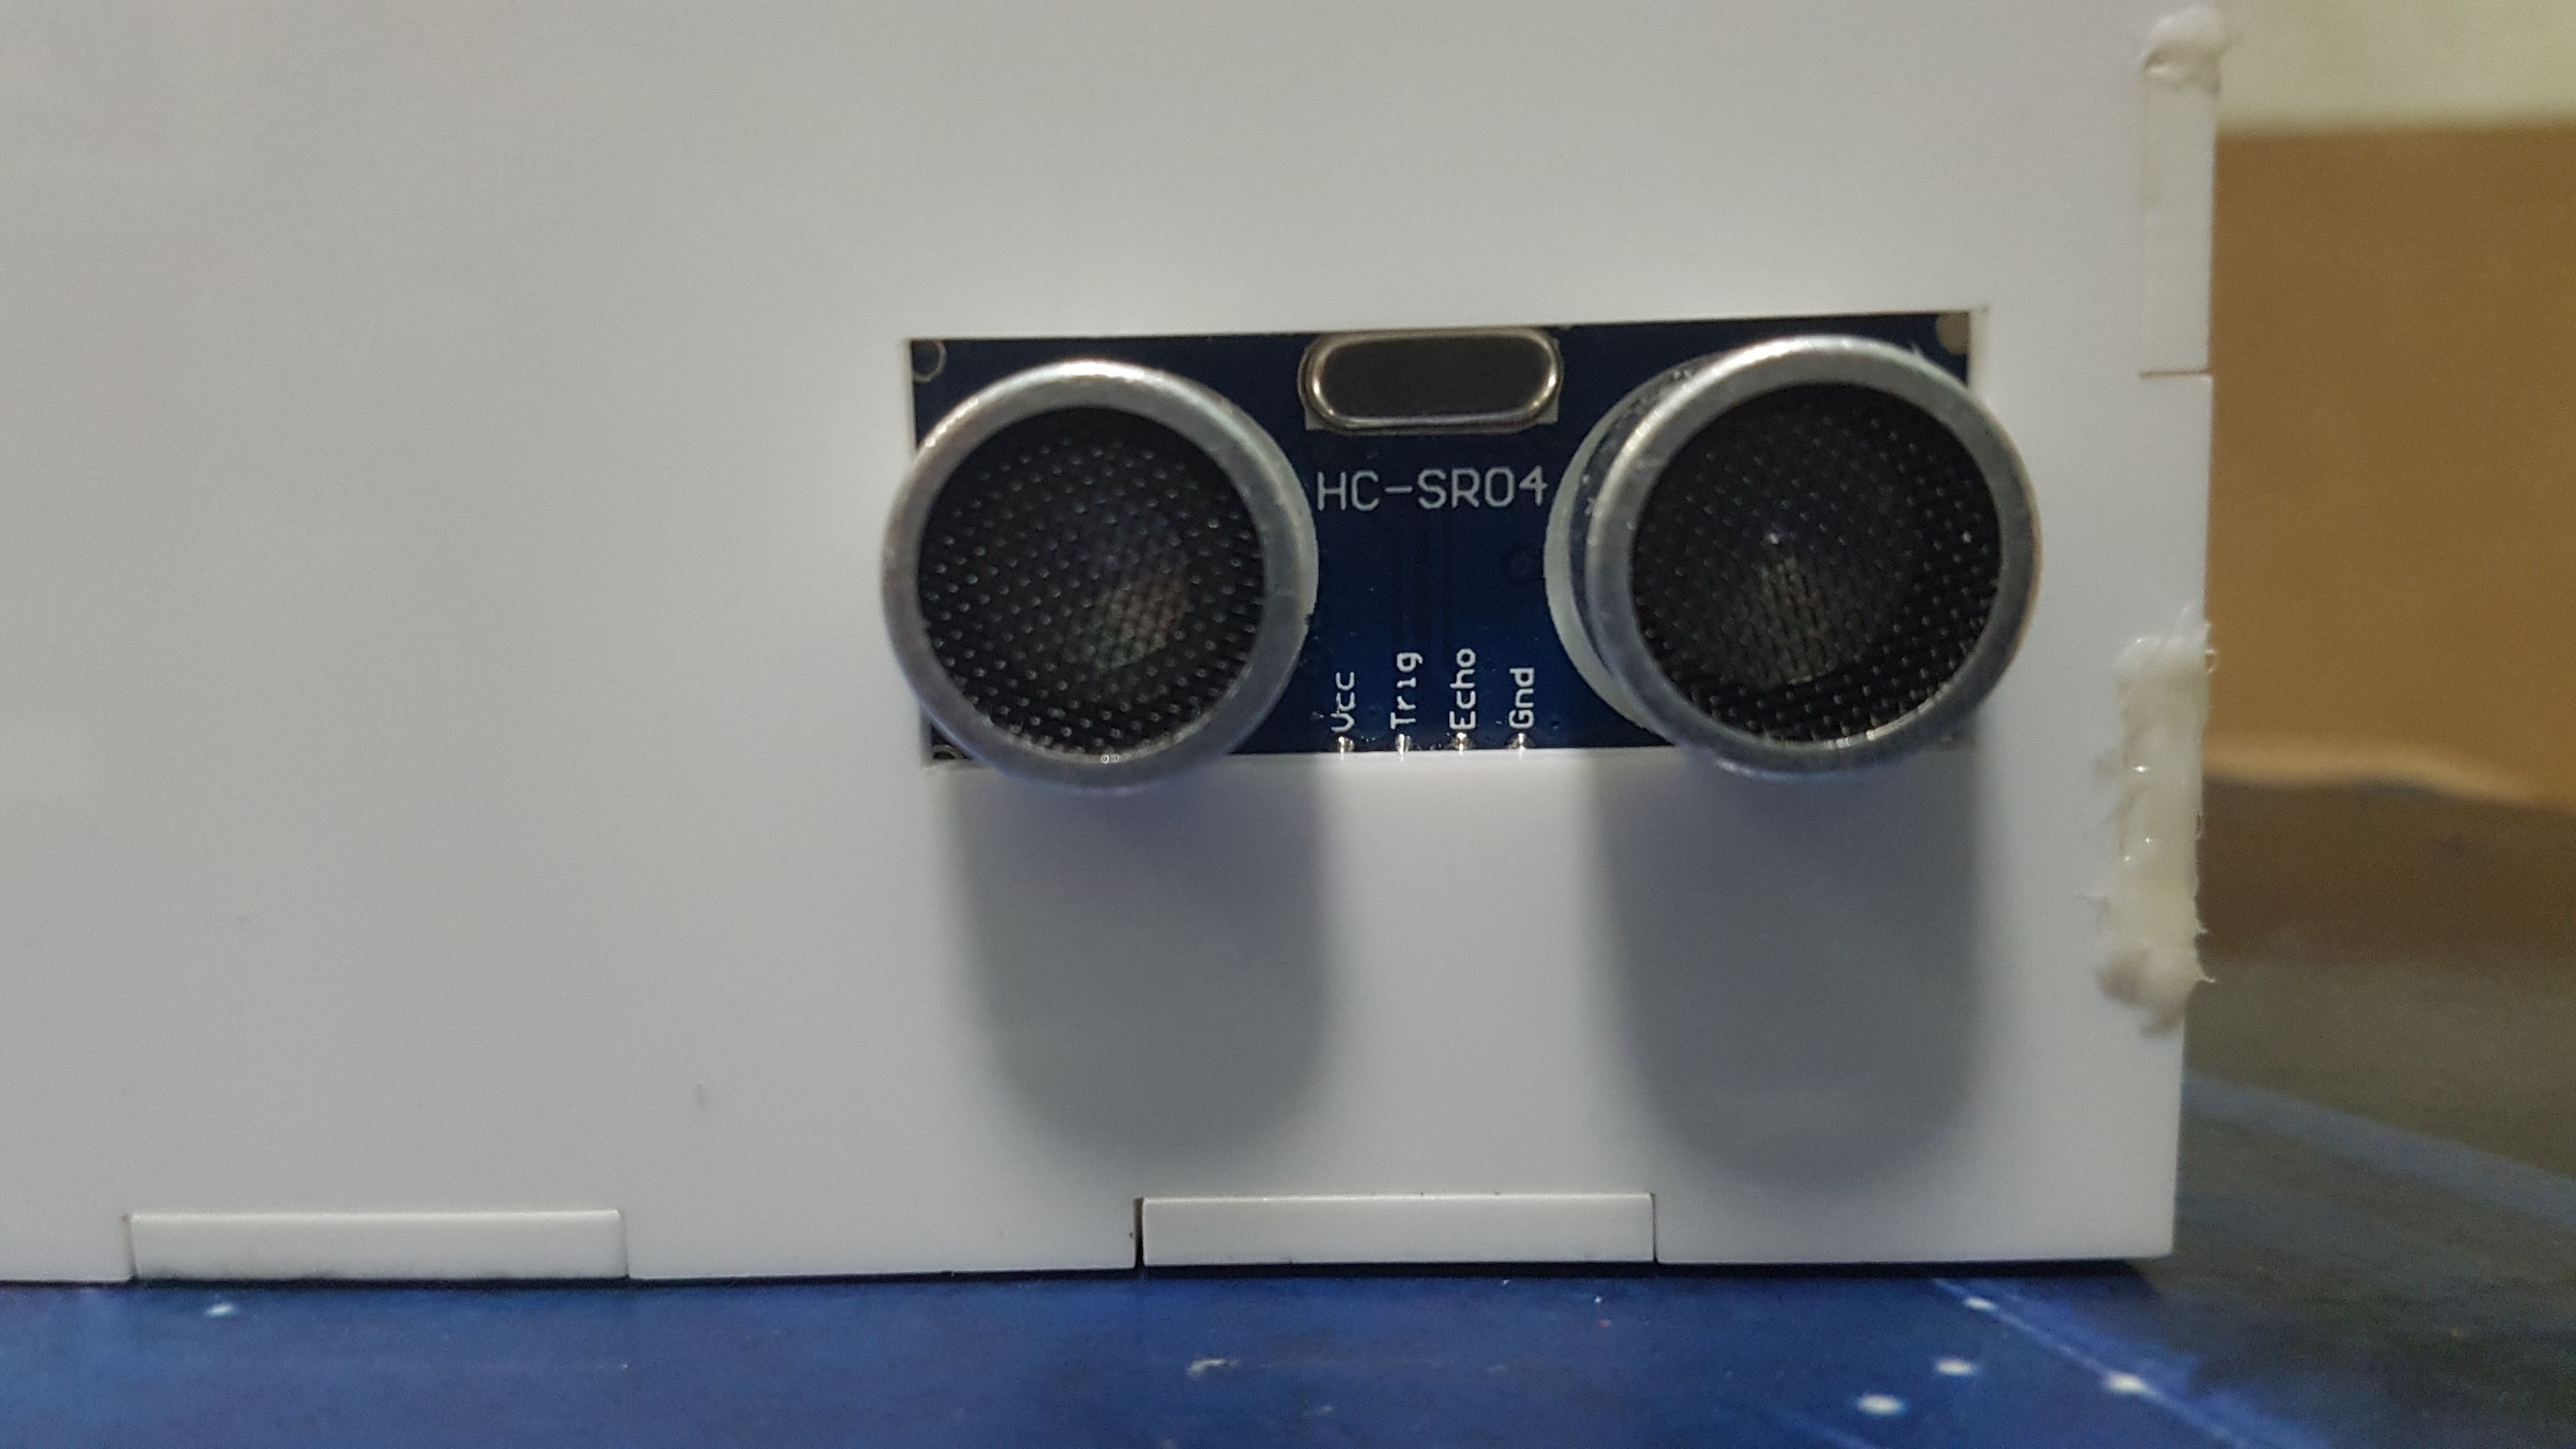
7. Ultrasonic Distance Sensor
8. 2 * A3 Clear Acrylic
Firstly, I needed an idea for my project. That's where i when to Instructables and Arduino's project Hub to brainstorm.
Next, I shortlisted a couple of ideas I was interested in:
-> A Touchless Hand Sanitizer
-> MK 85 Iron Man Electronic Faceplate
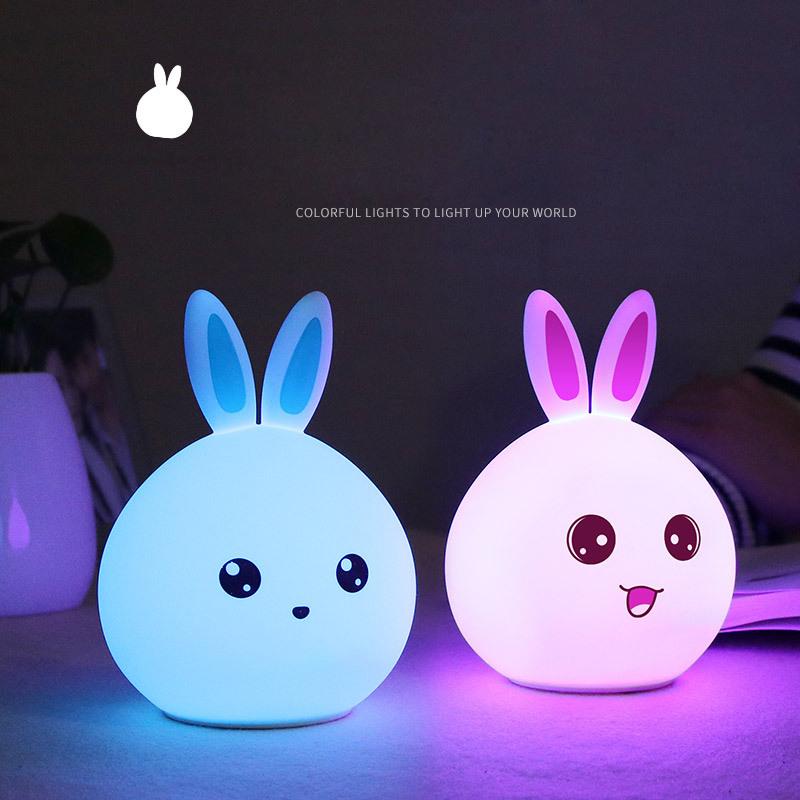
-> Mood Lamp
-> Voice Controlled robot Hand
Afterwards, I constructed a 2x2 Design Matrix to determine the best idea to build given the 3 weeks time frame.
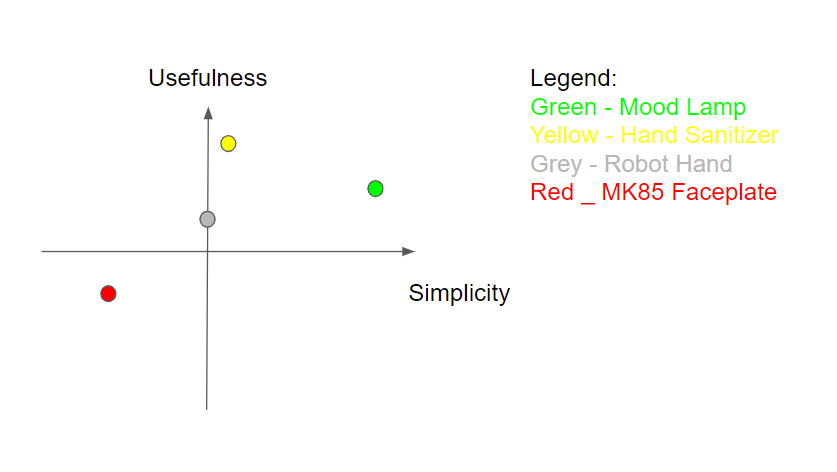
With the design matrix & limitations given, I figured the Mood Lamp was the best choice.
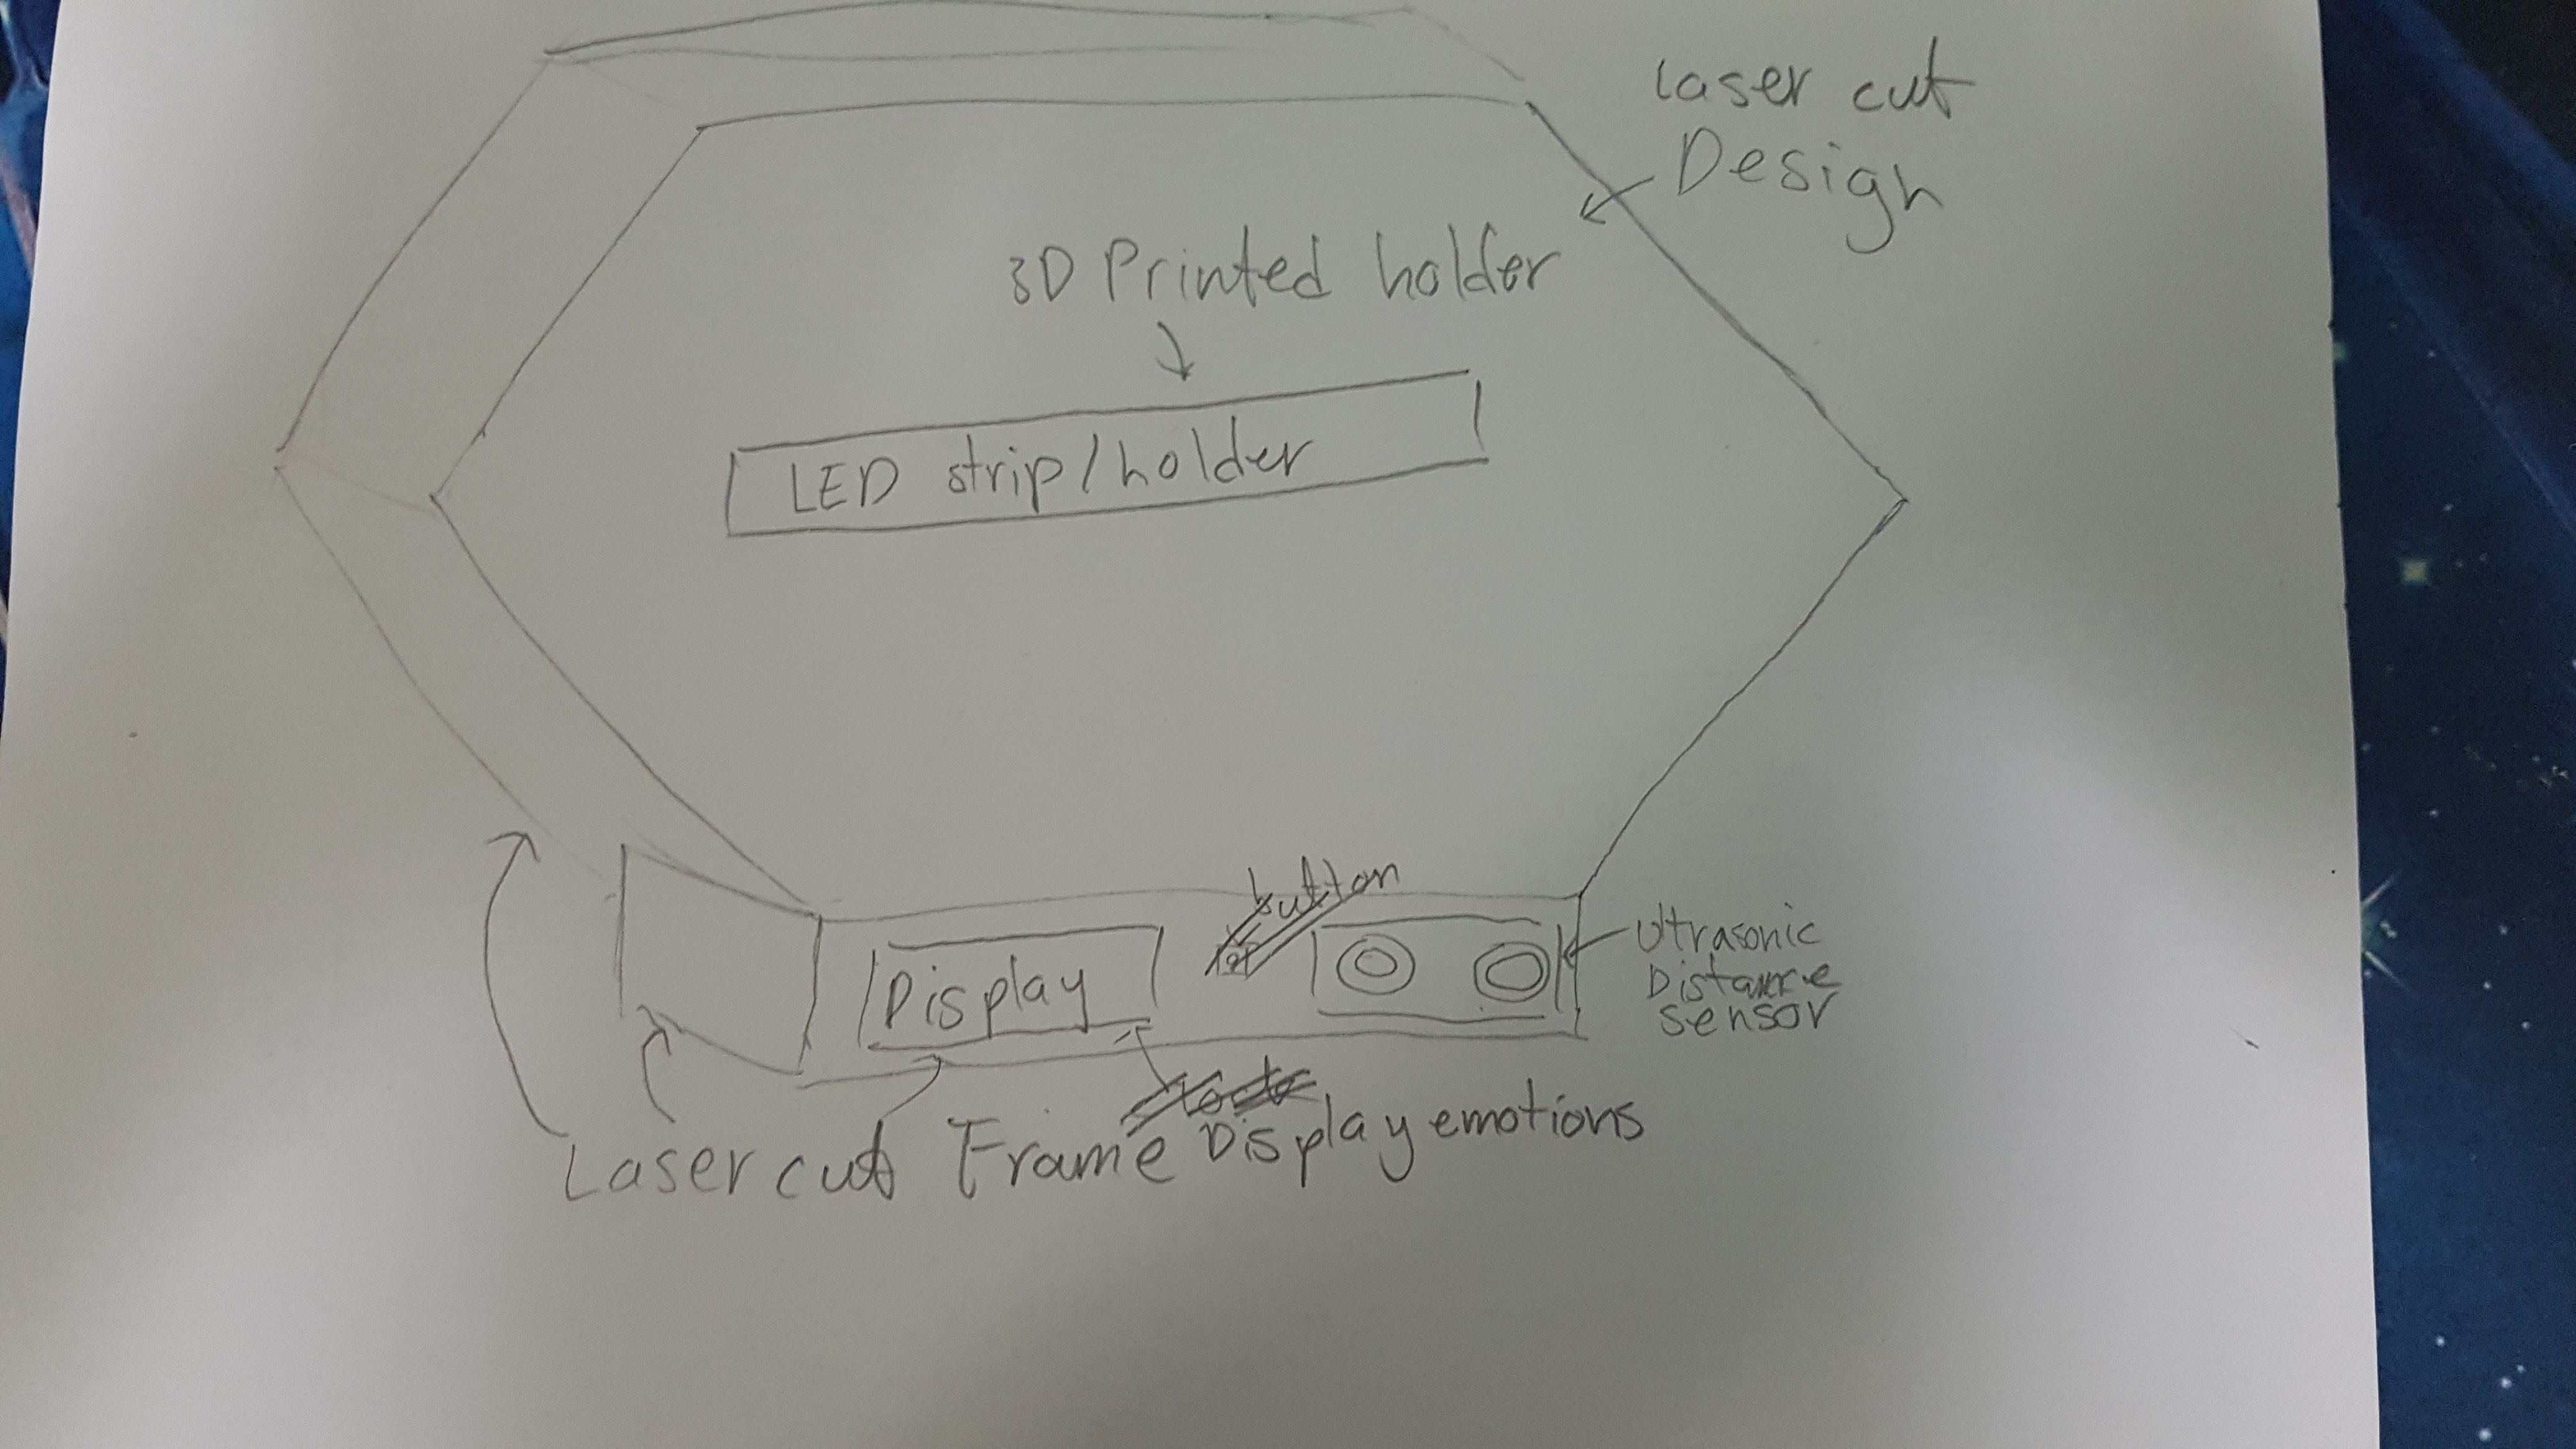
After having an idea, I moved on to the design process. Below is my initial sketch without any research.
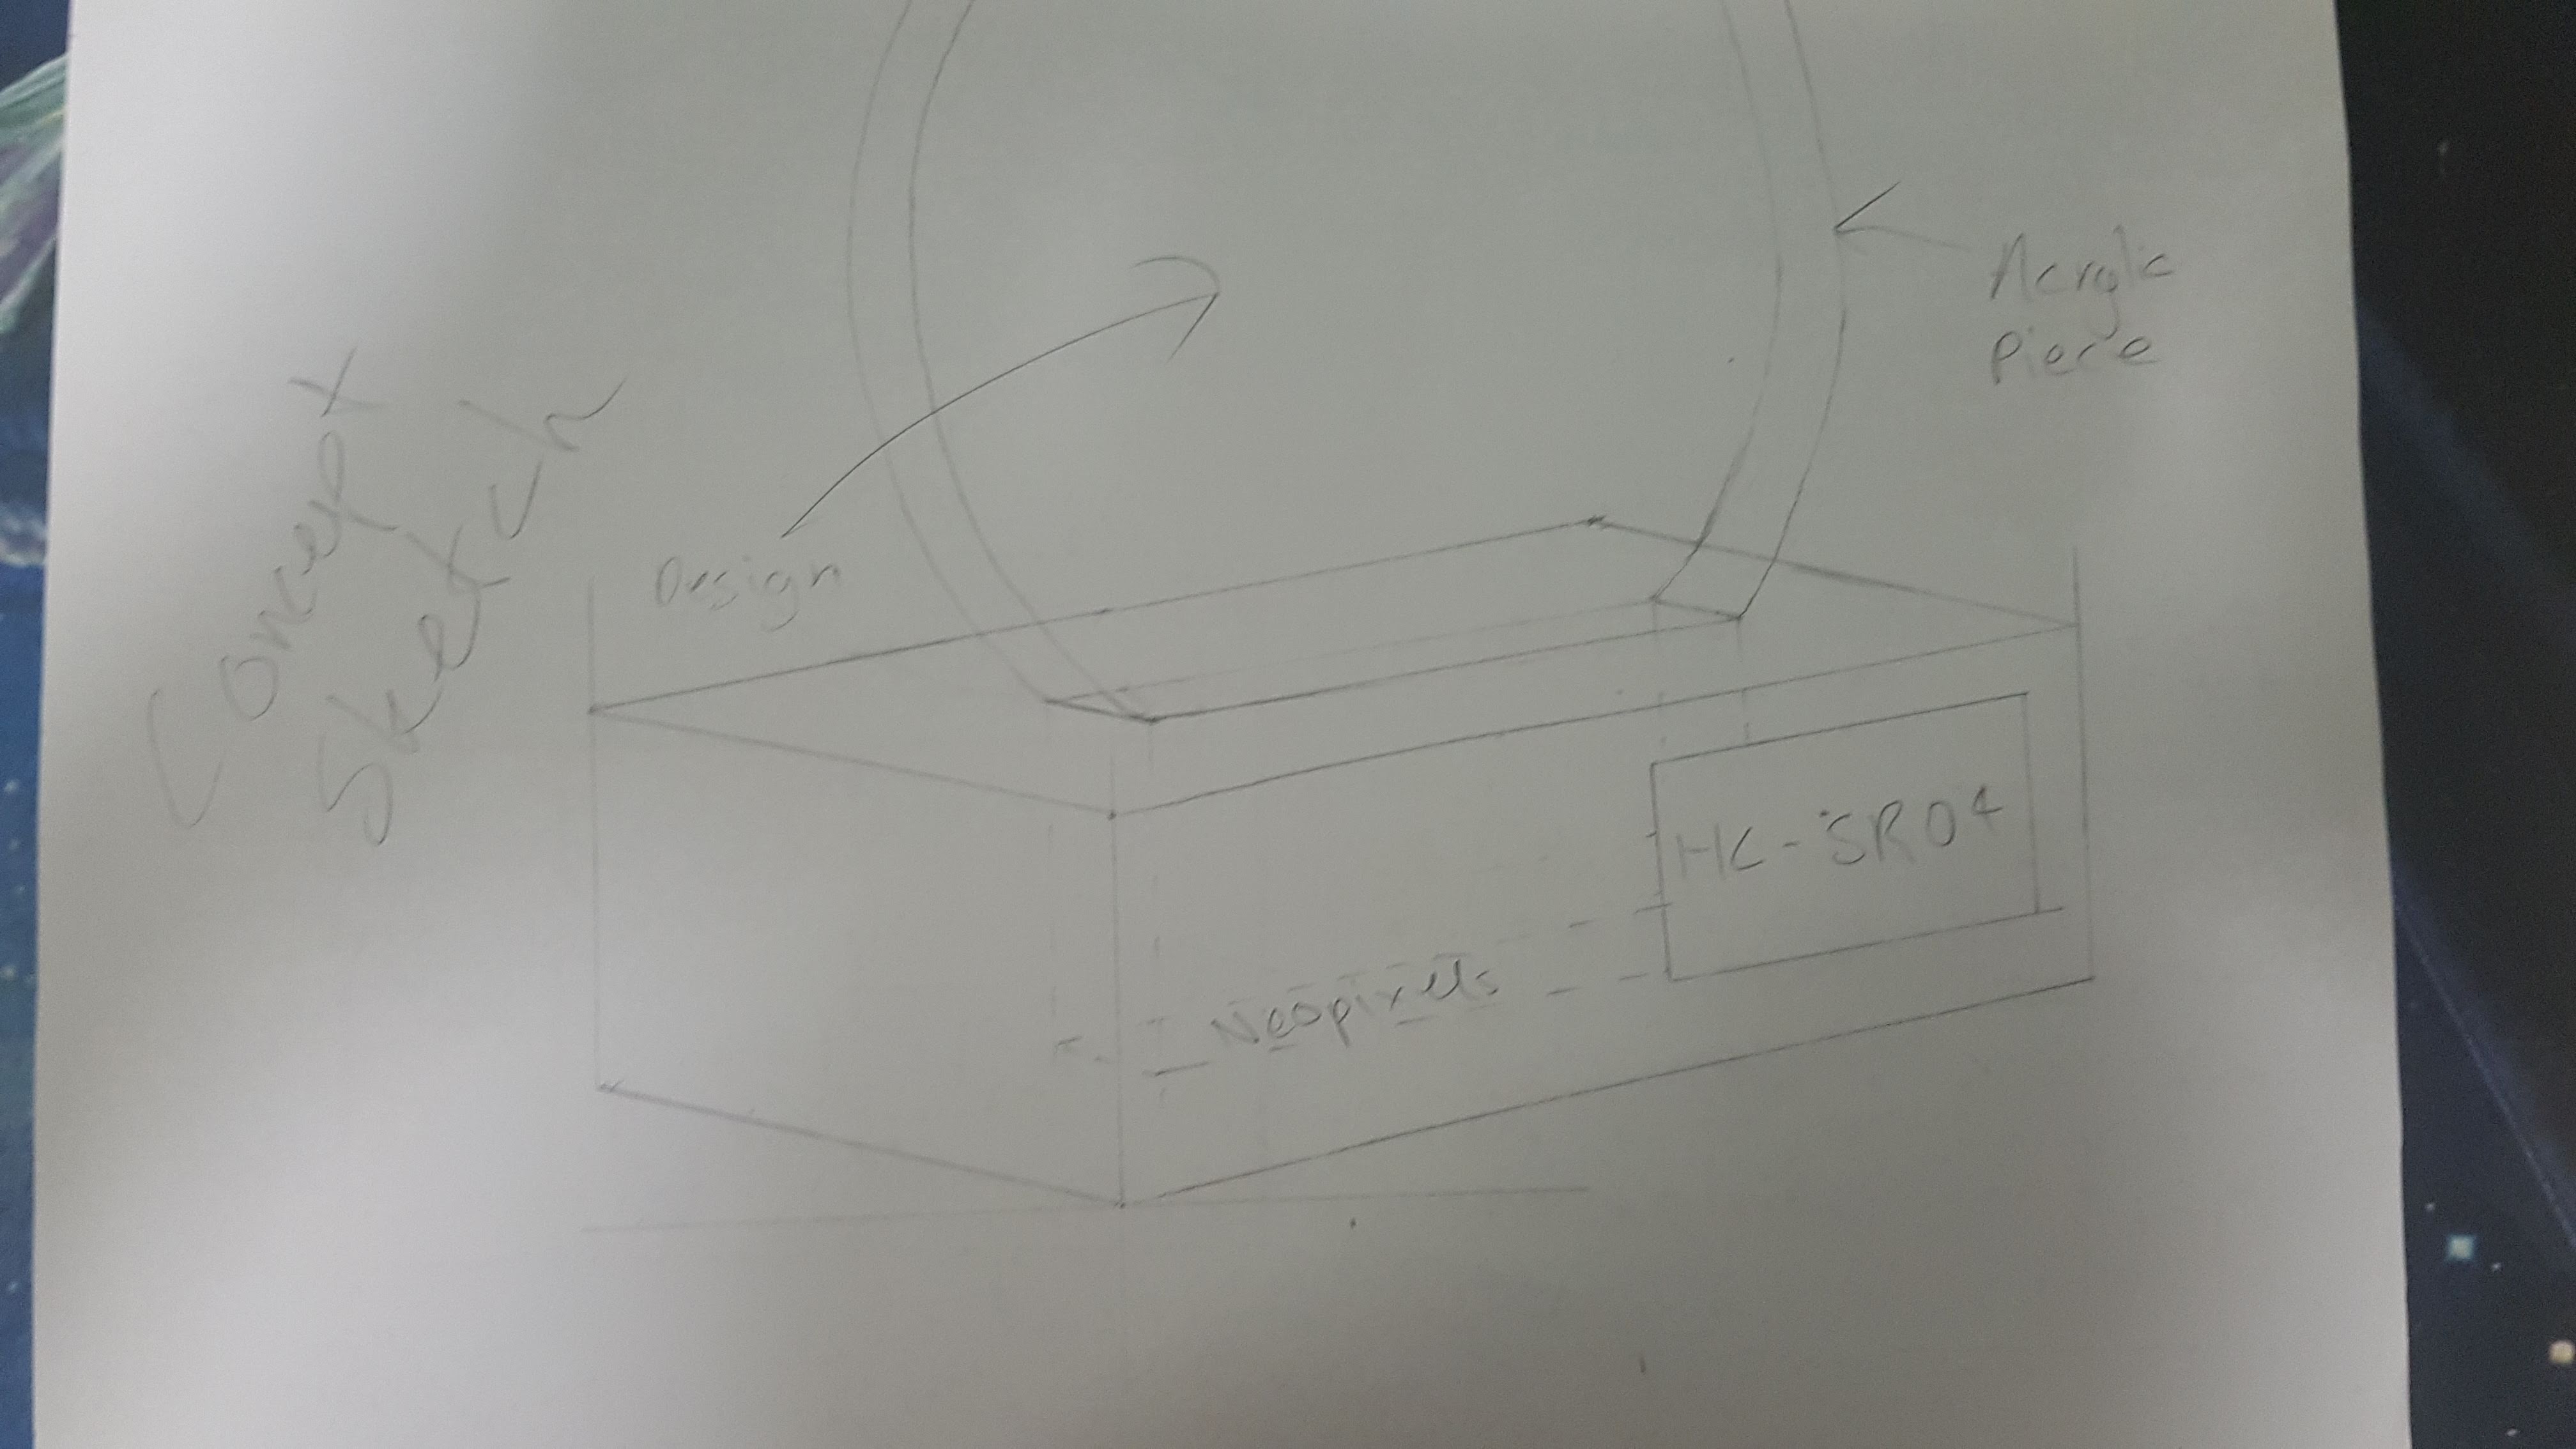
Upon further research, I found some Acrylic Lamps, and I decided I would go with a design similar to that. Below is my concept sketch after further research.
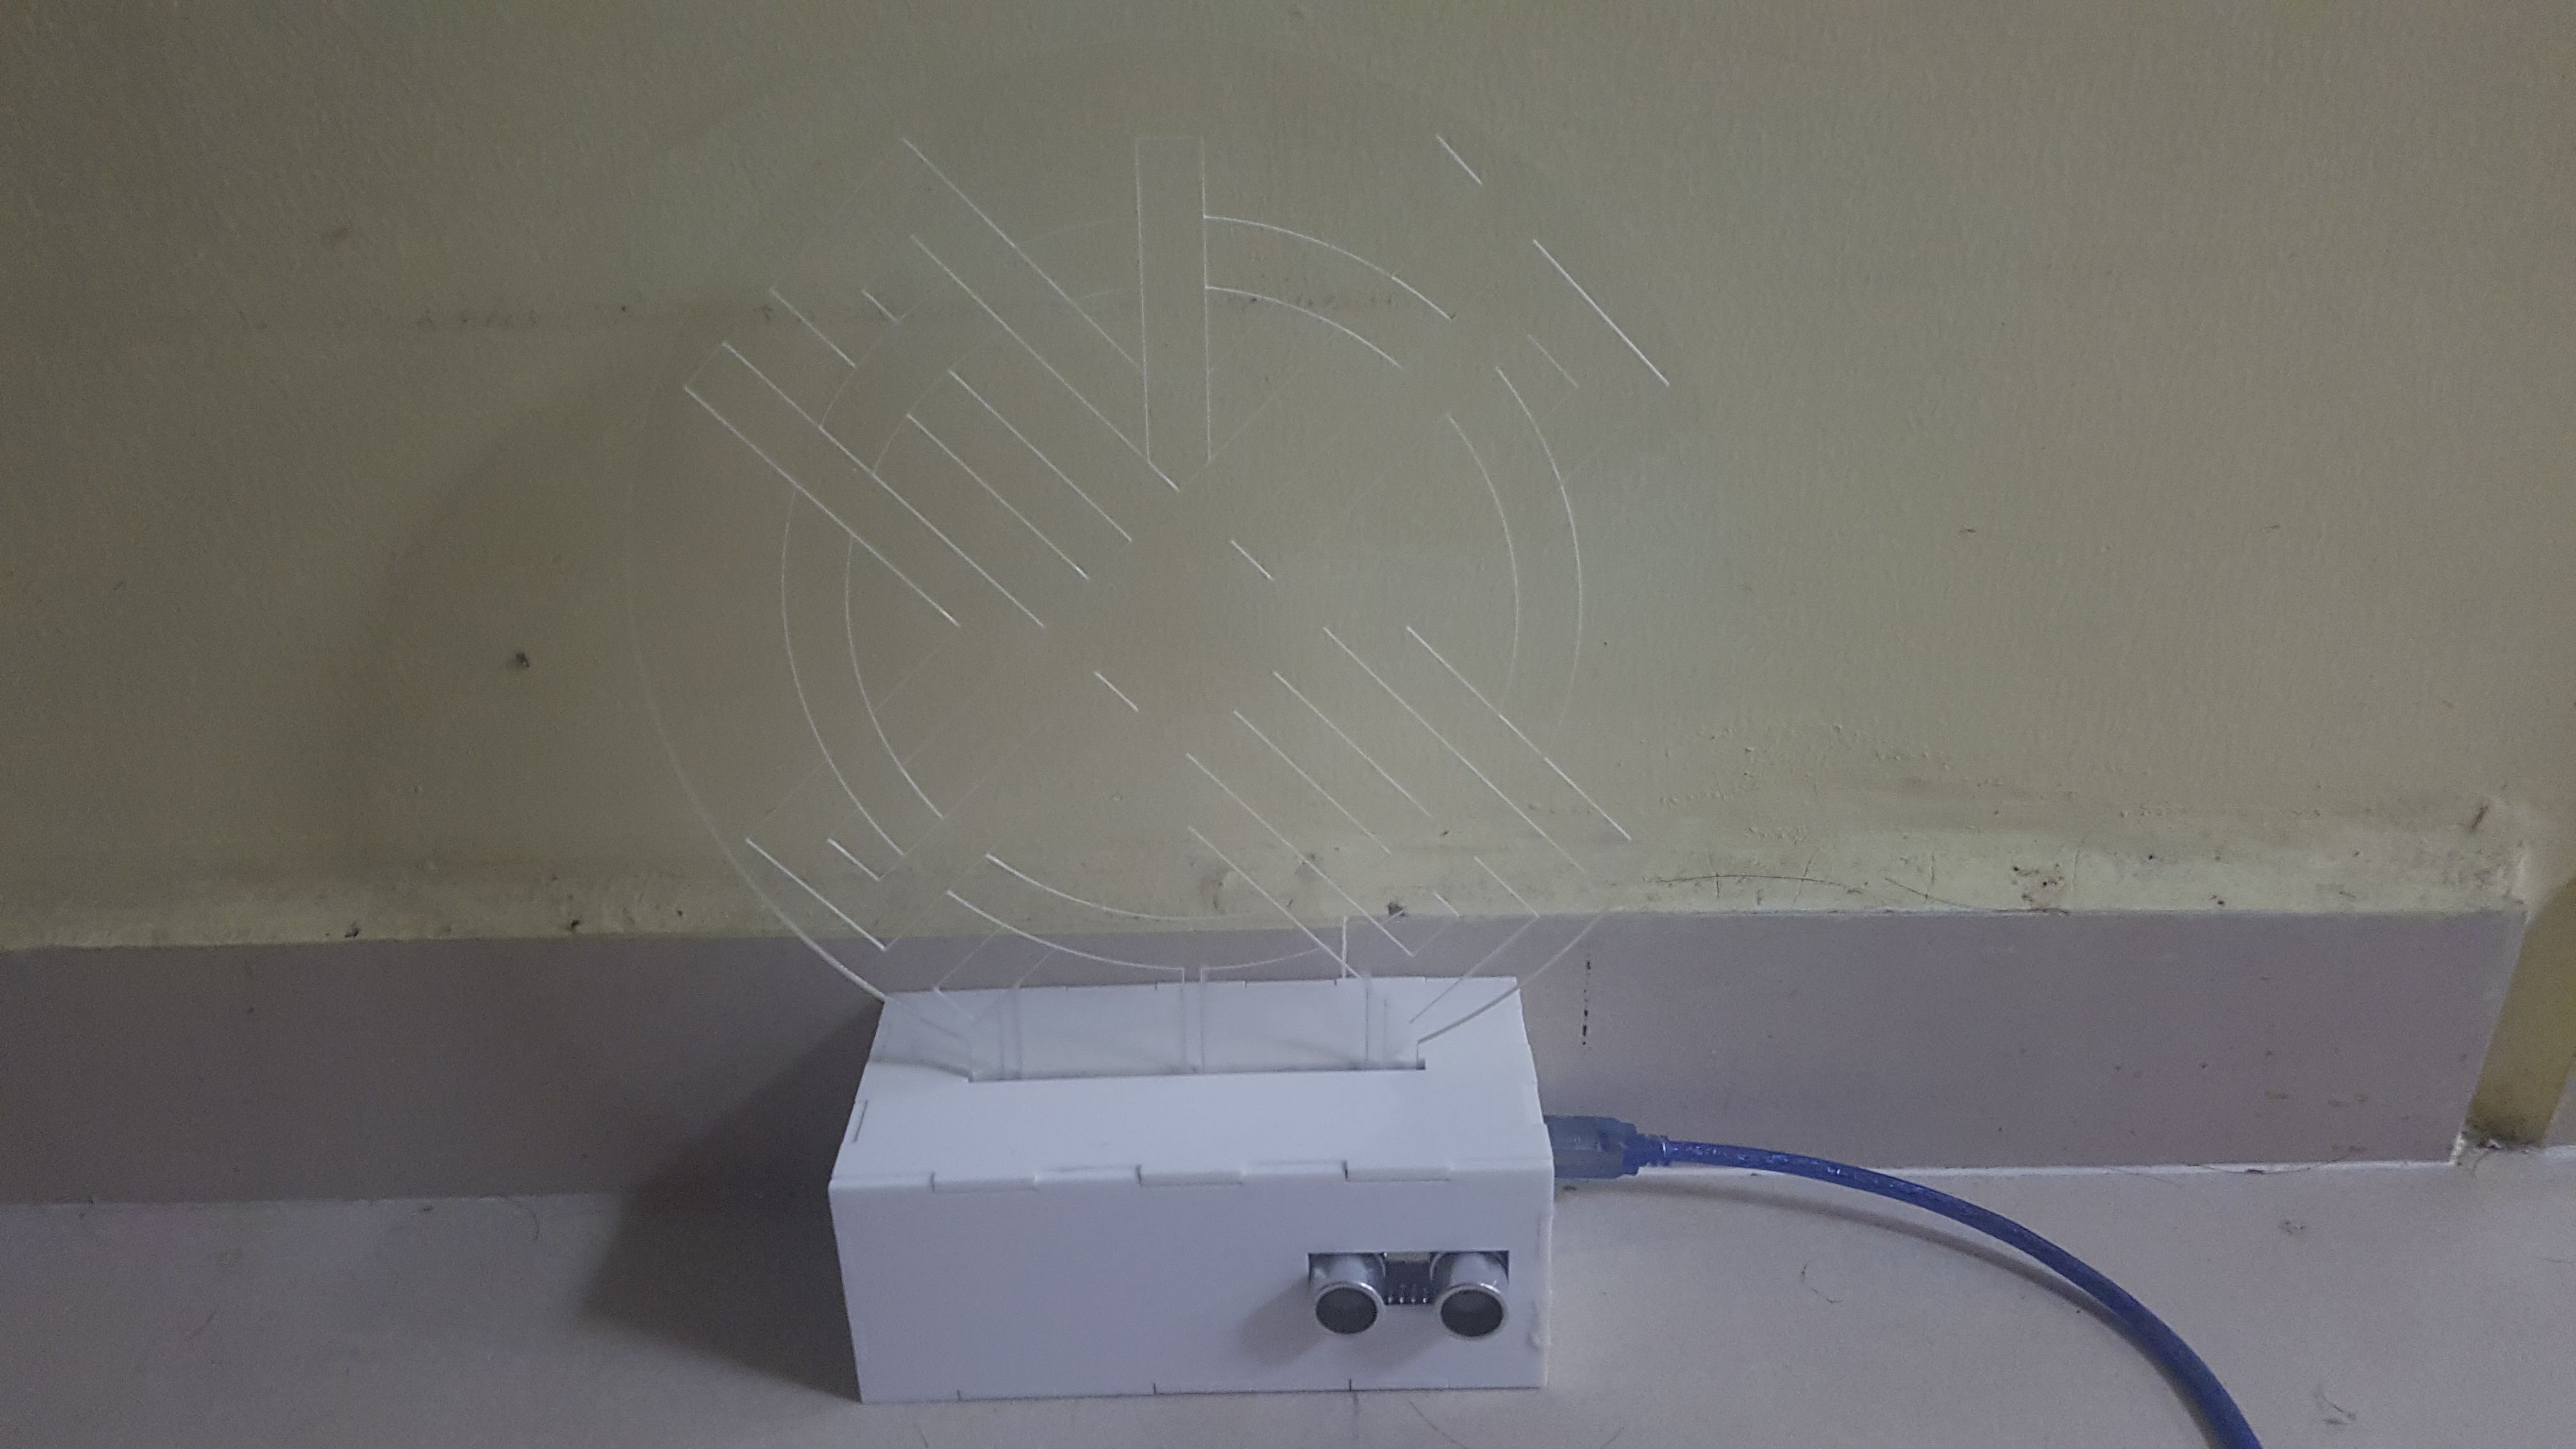
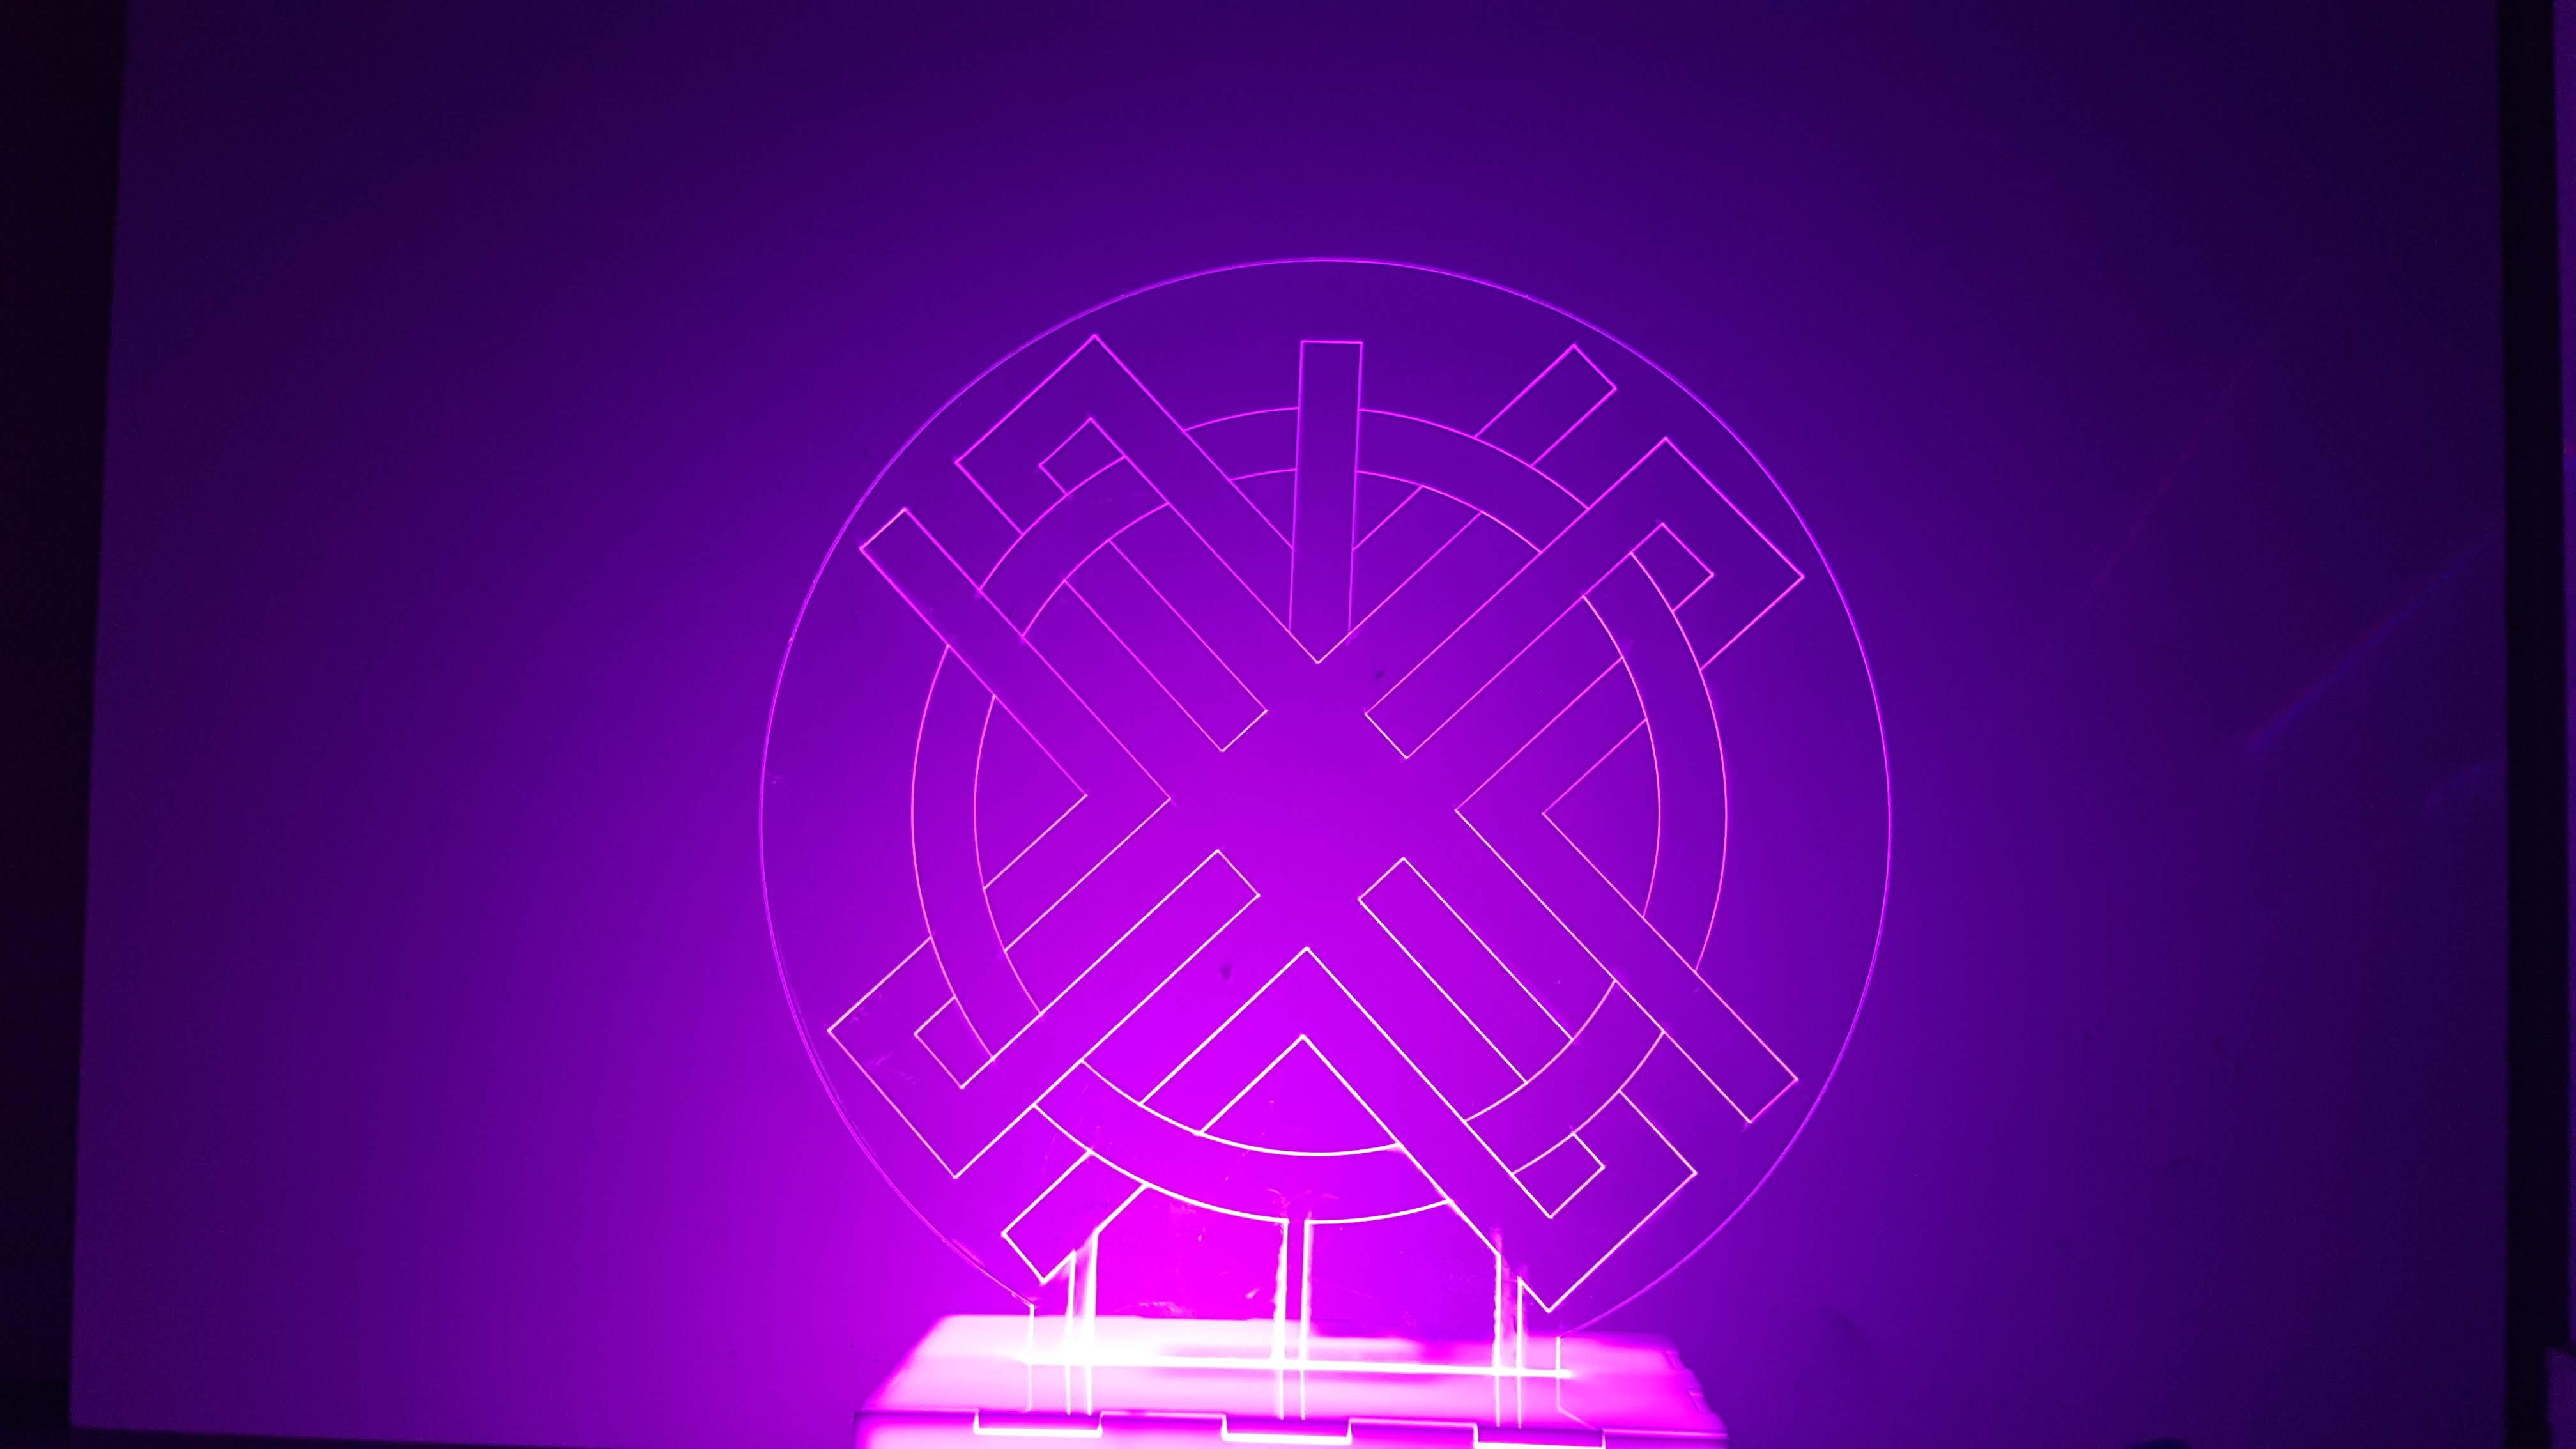
As for the design that was going to be etched on my acrylic piece, I was inspired by Gfriend's lastest album(Song of the Siren) symbol.

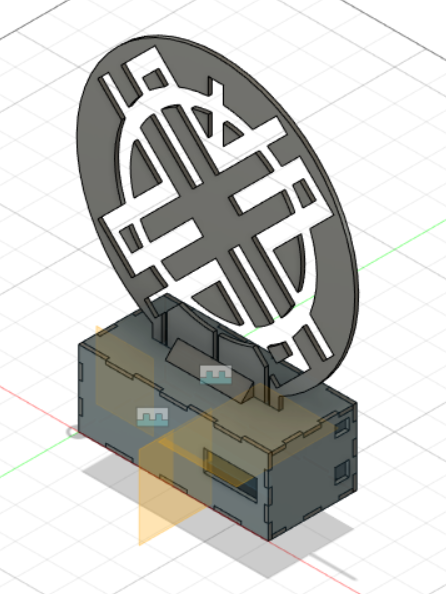
After deciding on the design of my etching, I proceeded to design my Mood Lamp in Fusion 360 with all that I have learnt so far.
After designing the model in Fusion 360, all that's left to do is the Programming, Fabrication and Assembly.
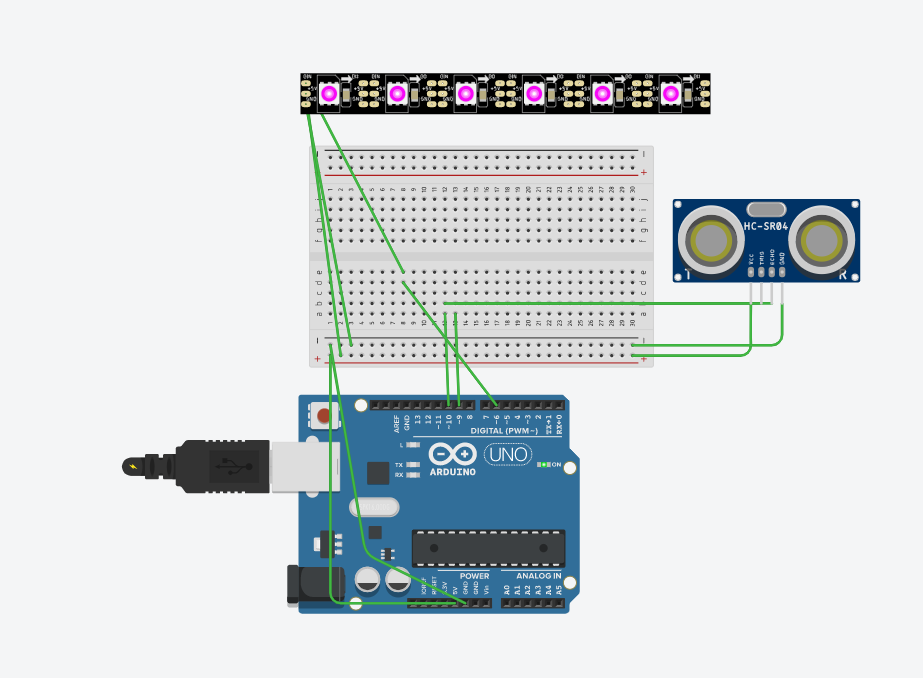
Firstly, I installed the library for adafruit Nexopixels.
After interfacing my Ultrasonic Sensor.
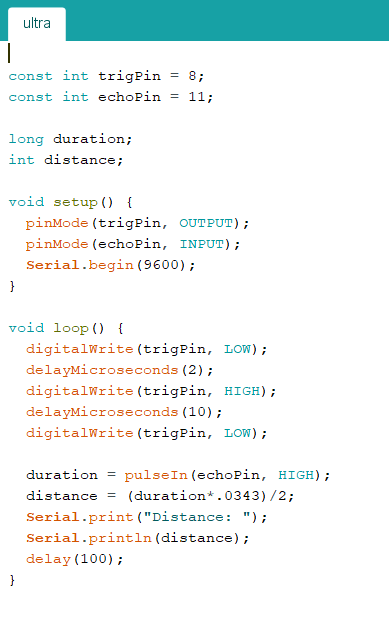
I spliced the Adafruit NeoPixel buttoncycler example with my ultrasonic Sensor code to produce the final code.
Afterwards, I used Tinkercad the test my code.
Code
If you have troubles opening it with internet explorer, open it with notepad.
What it does is basically change states everytime the ultrasonic Sensor detects something within 4 cm, with a total of 8 states to cycle through.
After getting it to work, I moved on to my Fabrication Process
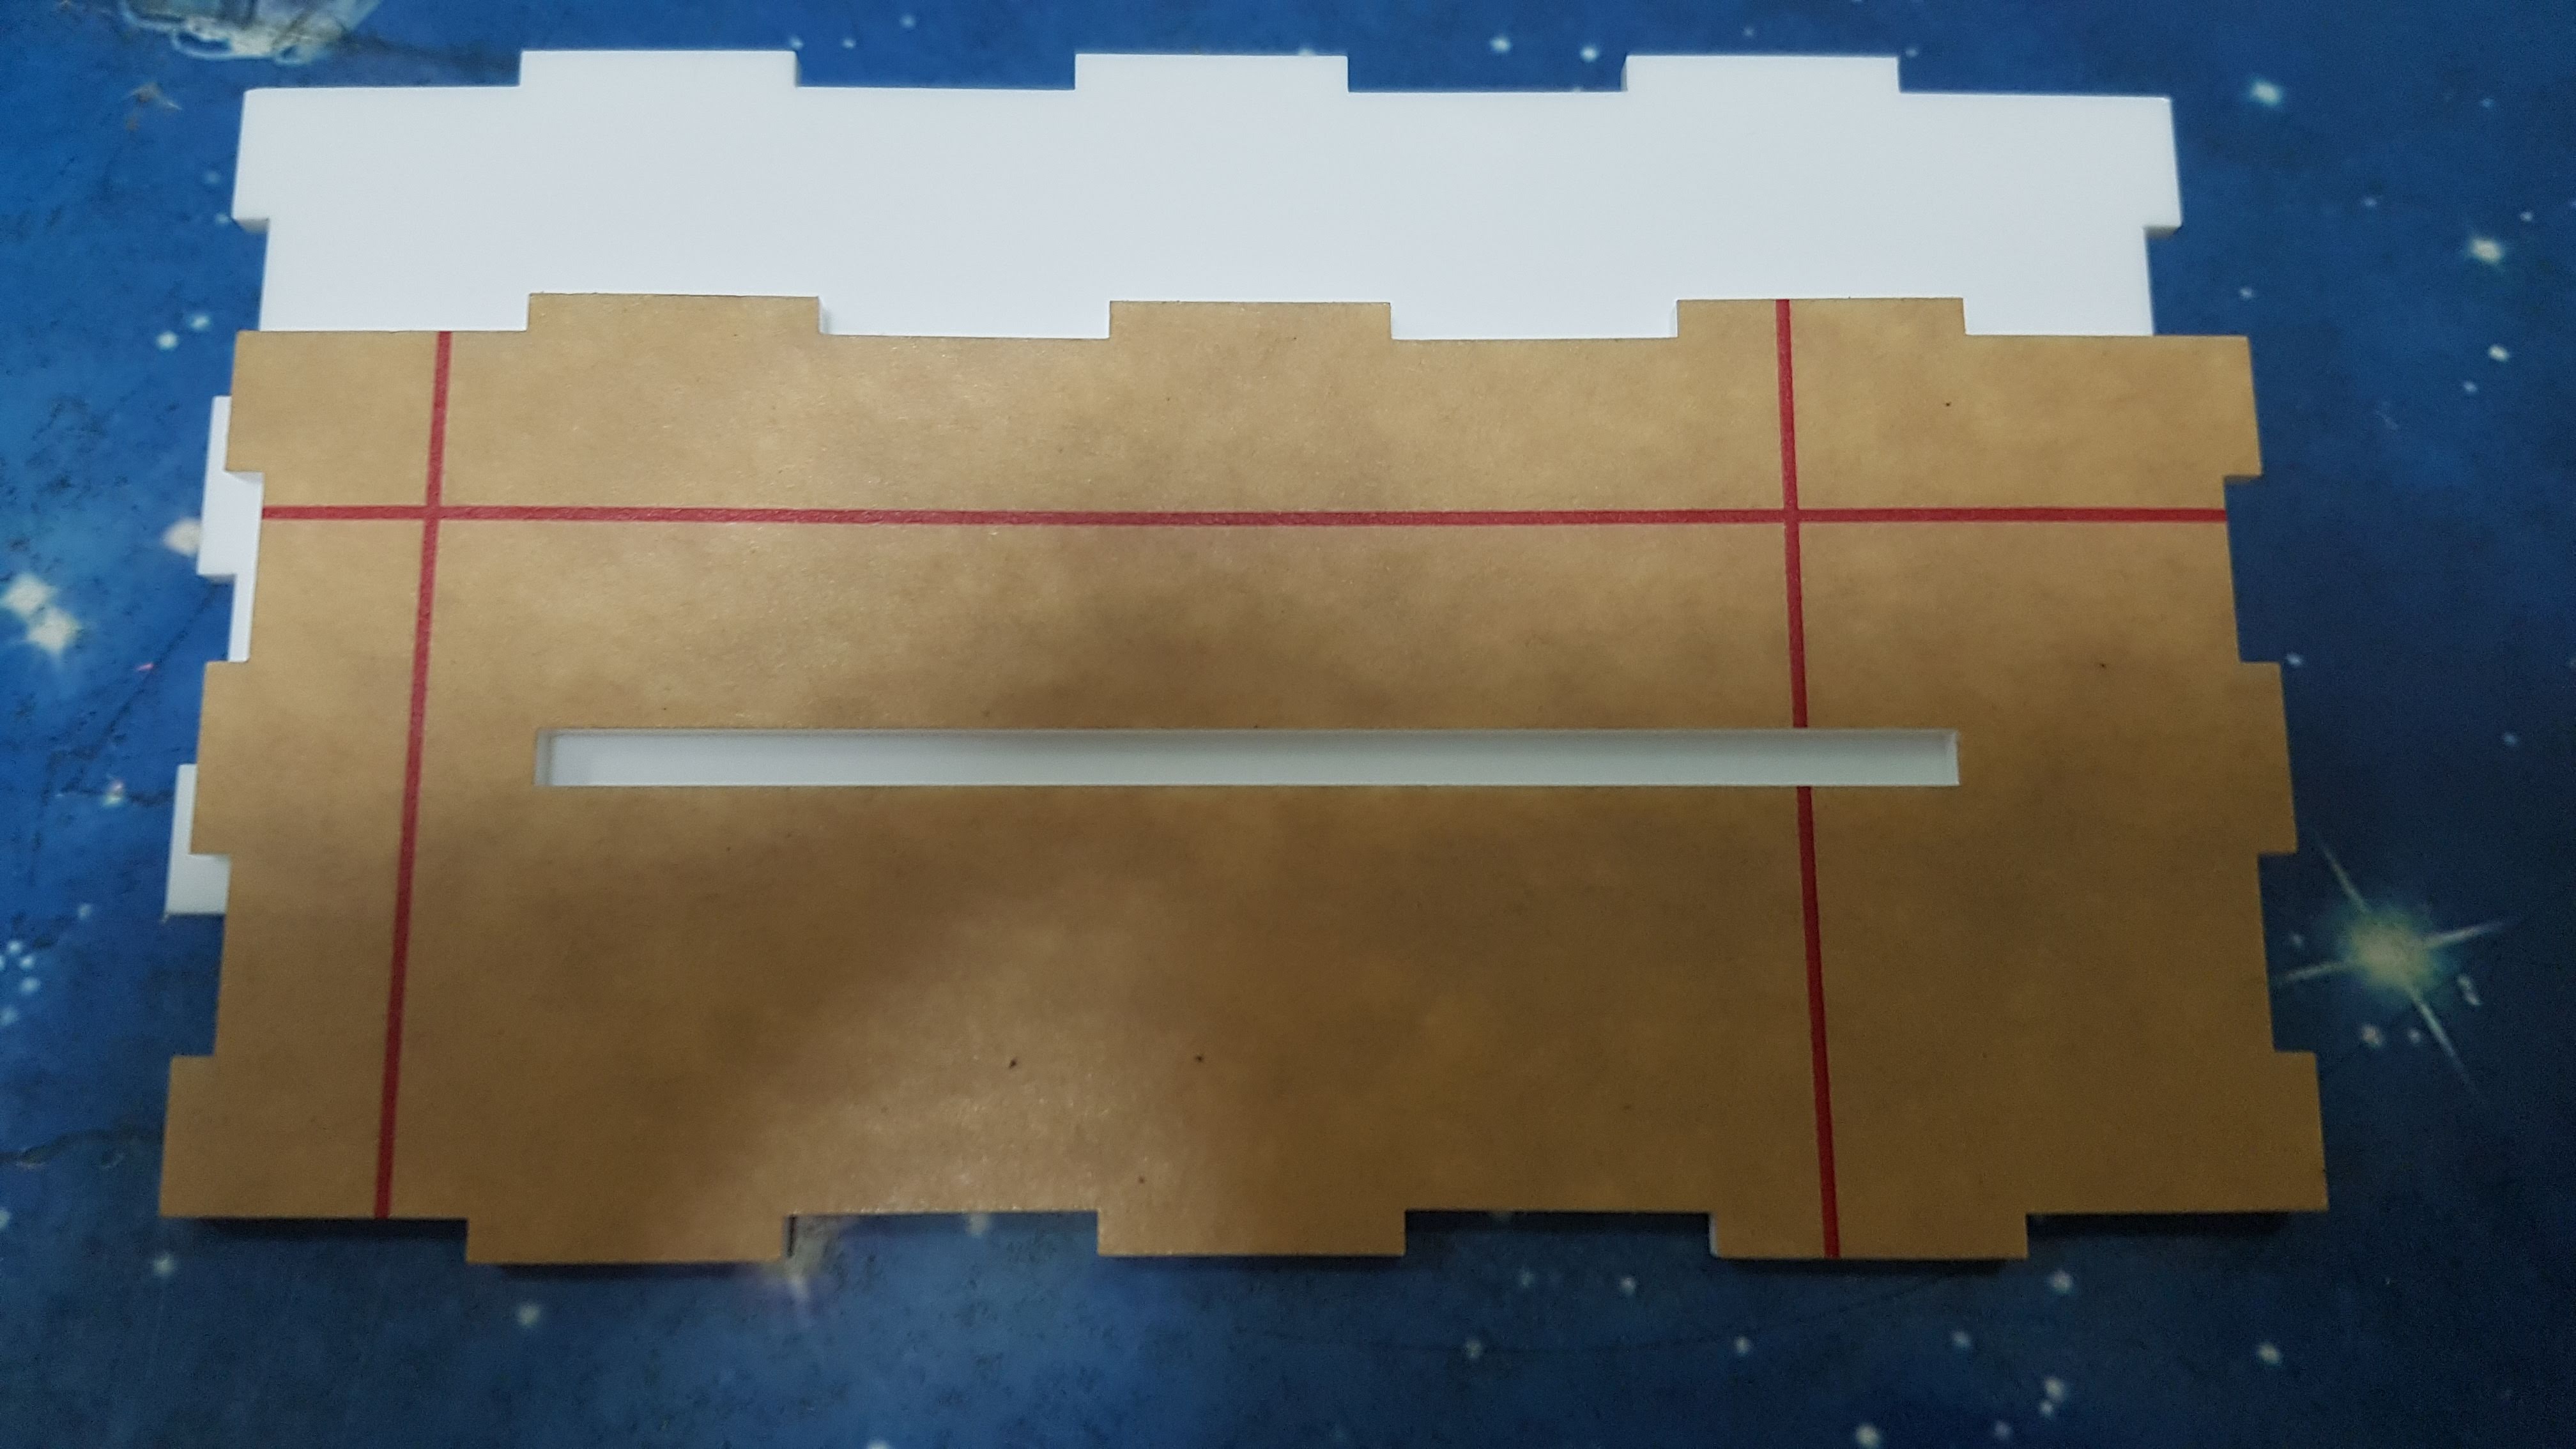
Firstly, I saved all the necessary DXF profiles as shown in Computer Controlled Cutting. That includes the box and my acrylic piece.
Next, I went to laser cut and etch all my pieces. In order to etch my acrylic piece, I had to increase the speed of the laser & decrease the power of the laser, it also depends on the thickness of the material you need to etch.
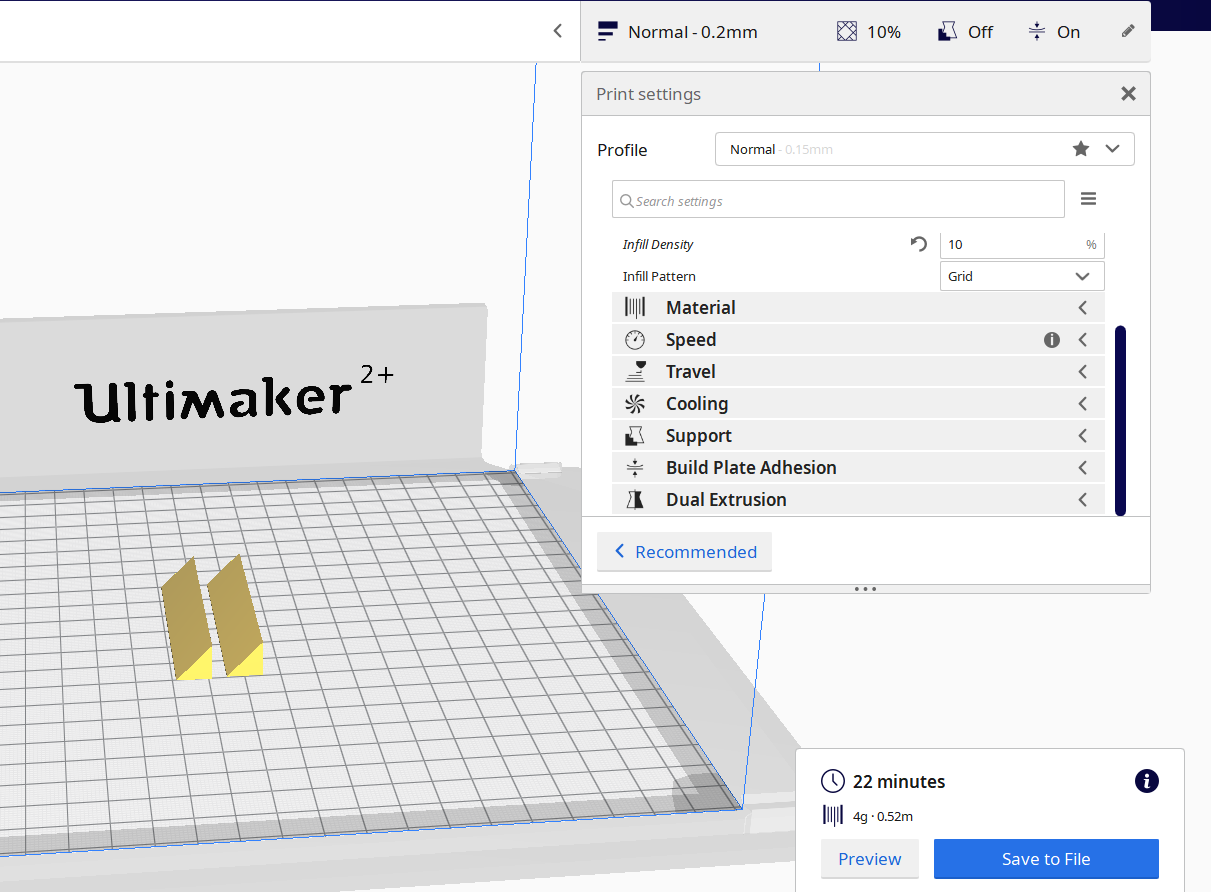
After laser cutting, I went to 3D-Print my triangular support that is going keep my acrylic piece from toppling over.
The initial print was going to take 40 minutes. However, after I reduced the length of the support by 10mm & change infill density to 10%, I managed to reduce the time by half.
The 3D-Printing was done smoothly & with that, all that was left was the assembly stage.
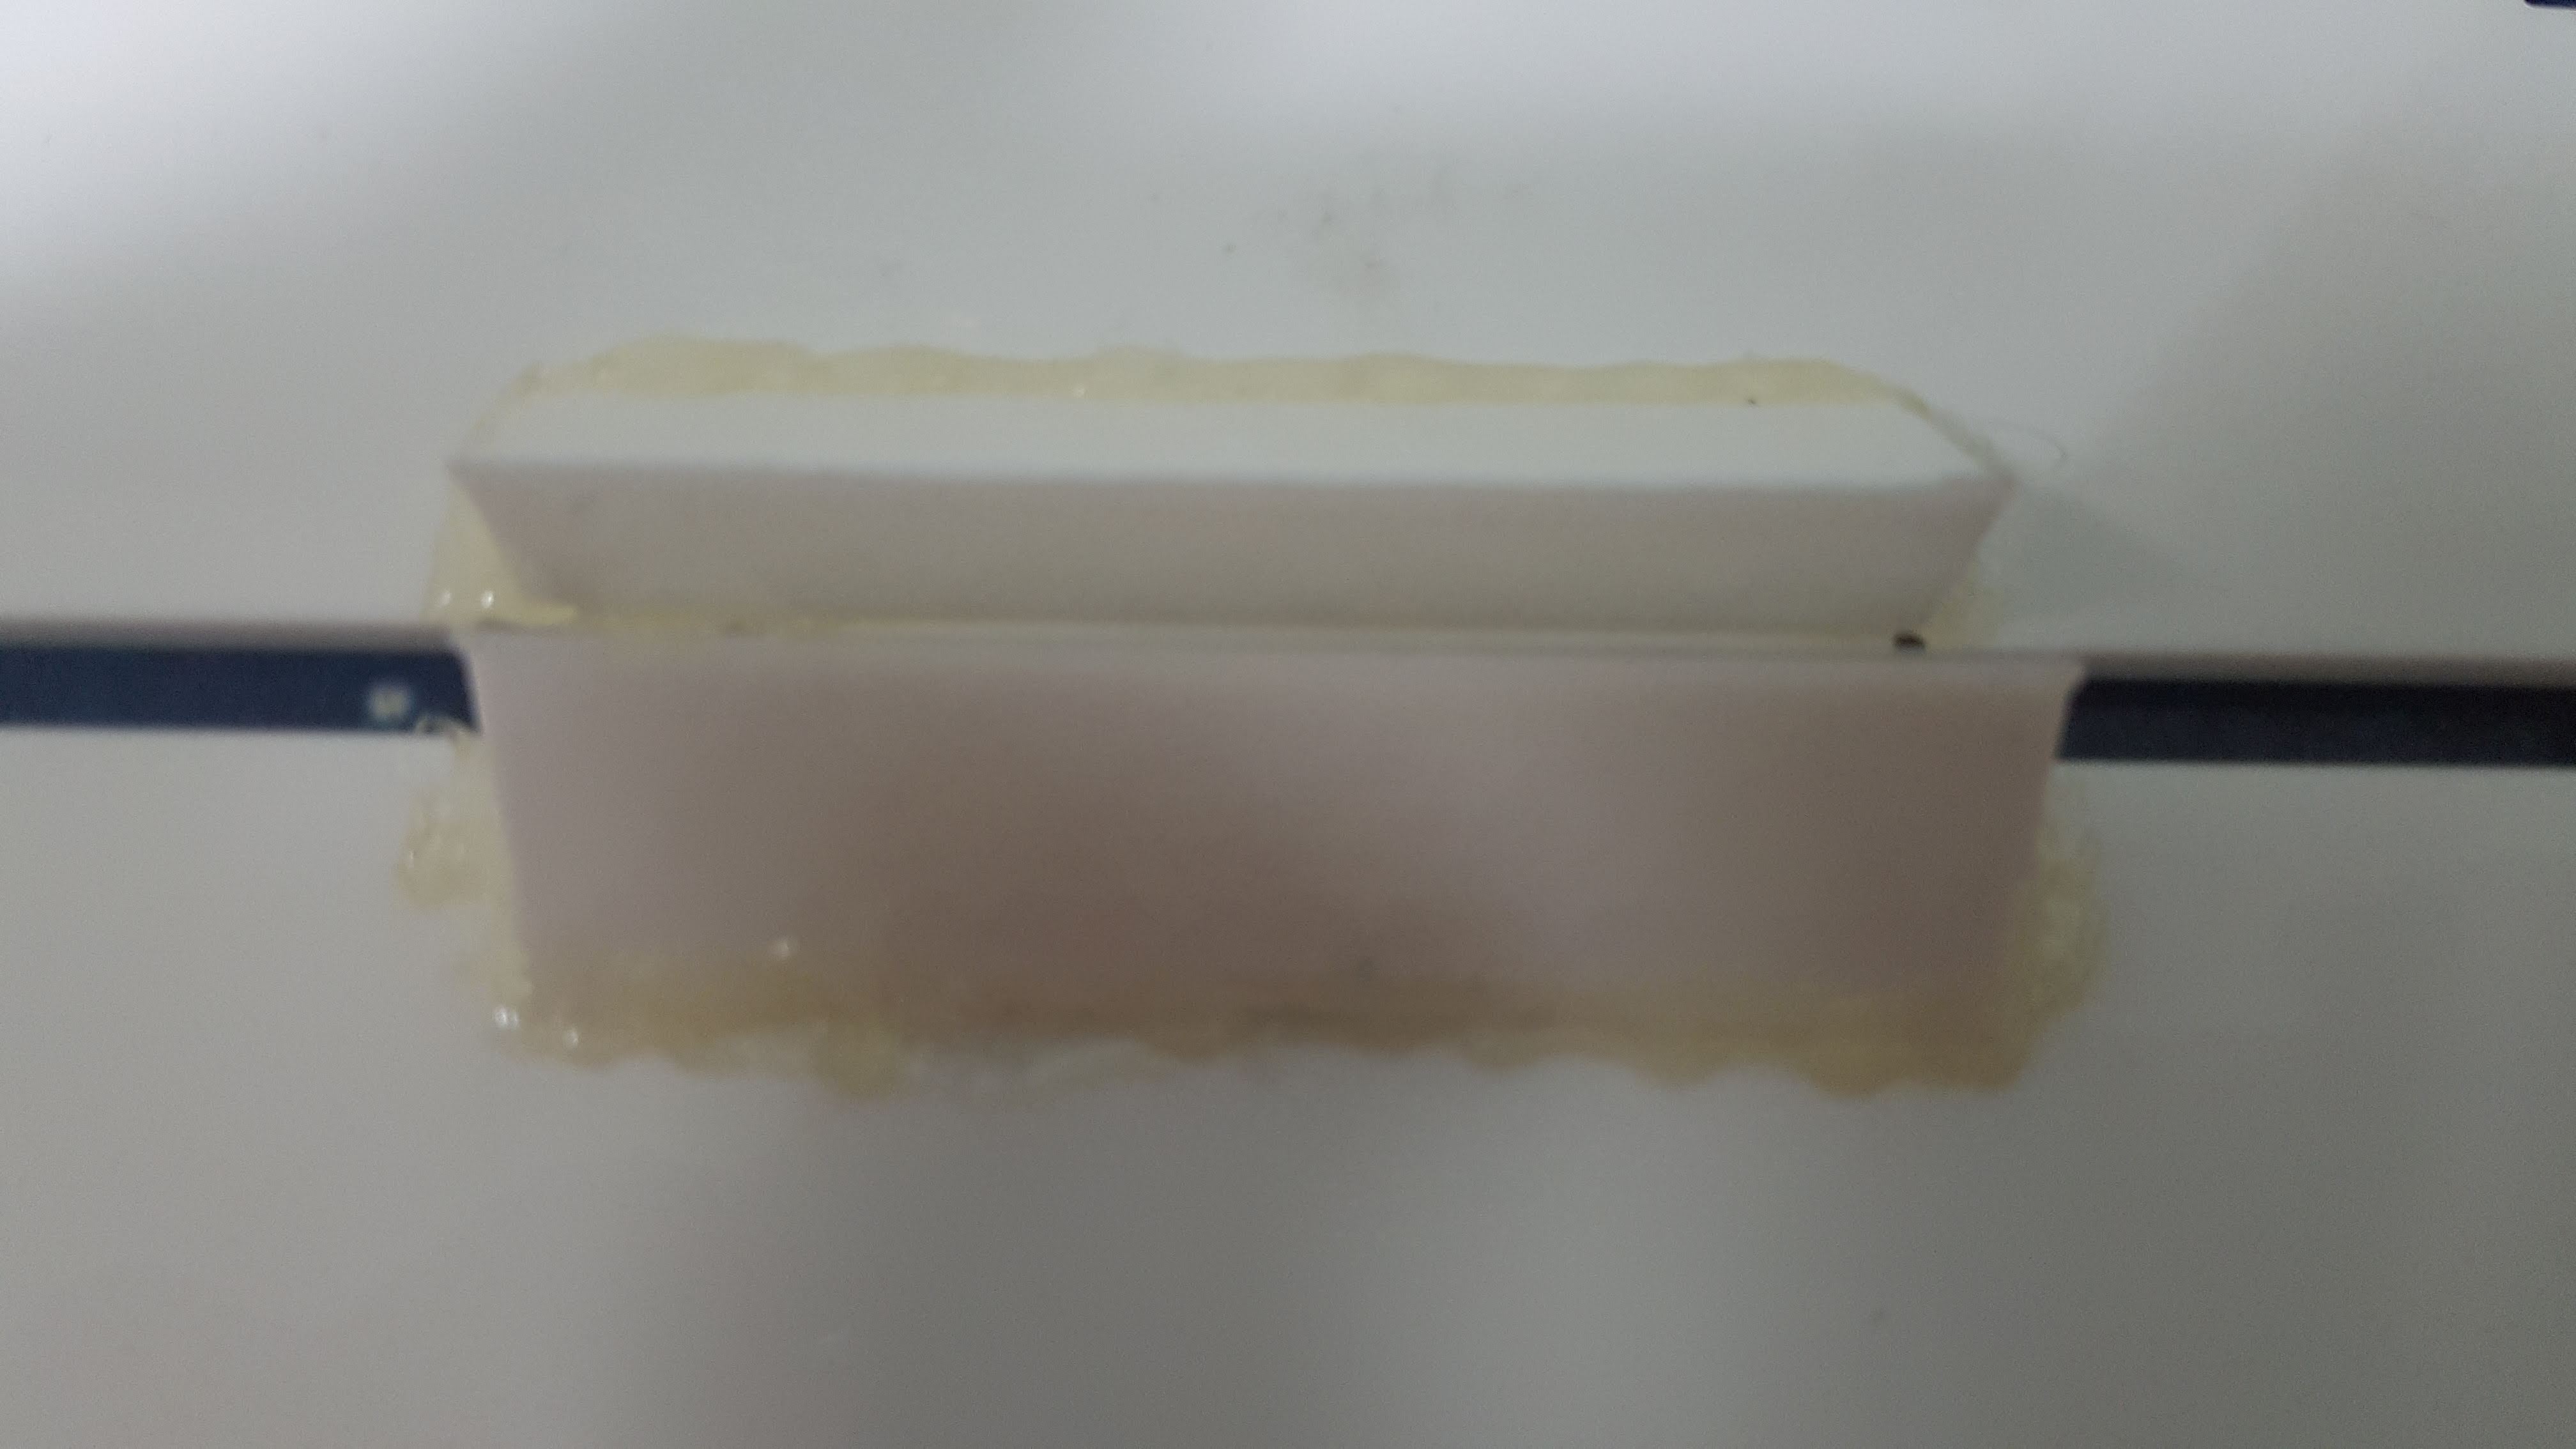
Since my box was still sightly unstable, I used hot glue to secure it together as it was the most accessible and easy to use option I had. I also used hot glue for the assembly of my most of my parts as previously mentioned it was the most accessible and easy to use option, making it the best option with only a week left before submission.
With that I have come to the end of my Final Project.
Click Below if you would like to look at a video of how it works and my presentation slides.
How it works
Slides